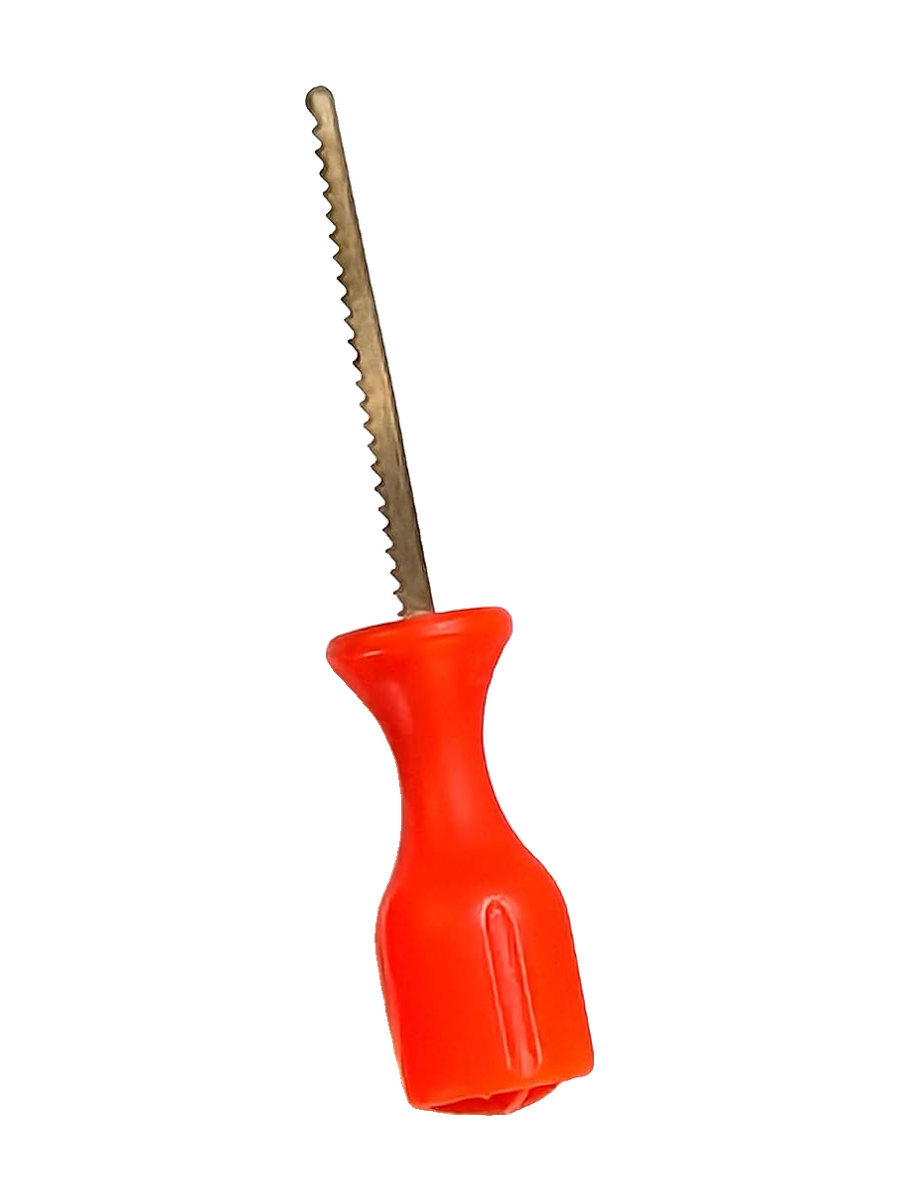
Starter Saw
Cuts the opening in the top or bottom of your pumpkin.
Tips & Tricks
Our pattern-and-saw method takes the frustration out of carving. Most patterns go from prep to glowing in minutes not hours. Here's how.
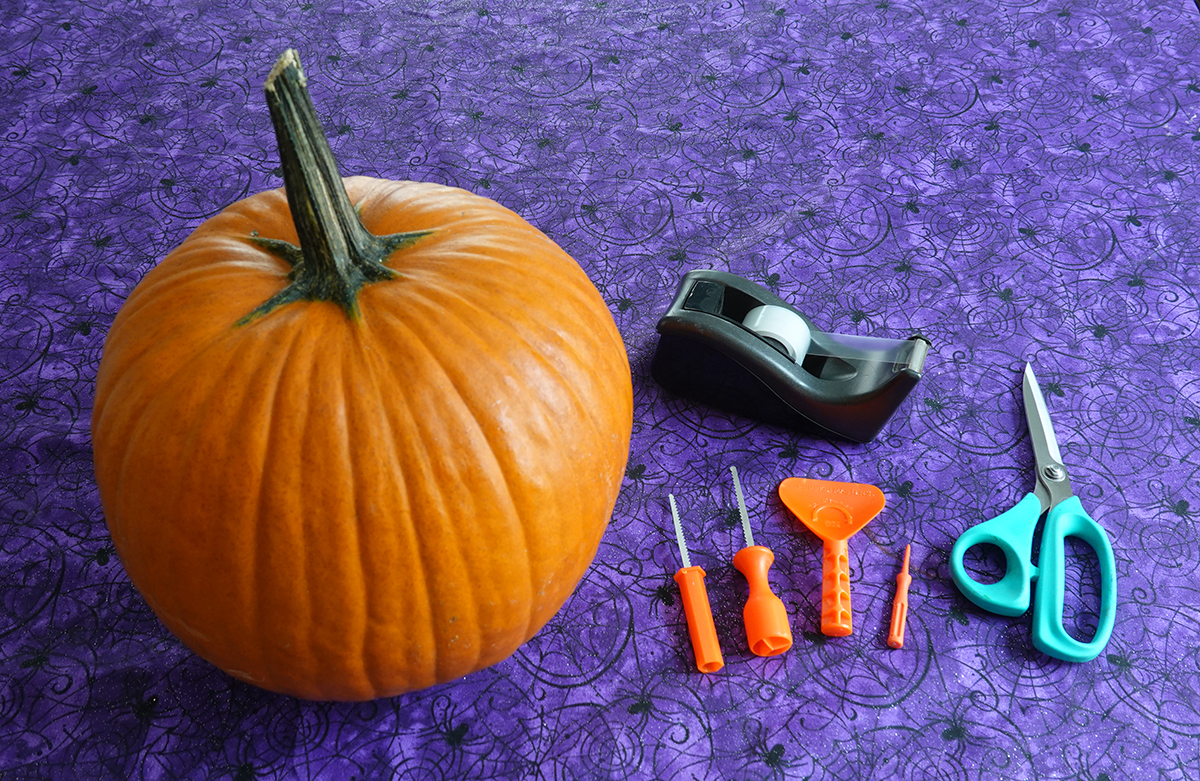
What you'll need
Know your tools
What you carve with matters more than how good you are. Each tool has a unique job.
Cuts the opening in the top or bottom of your pumpkin.
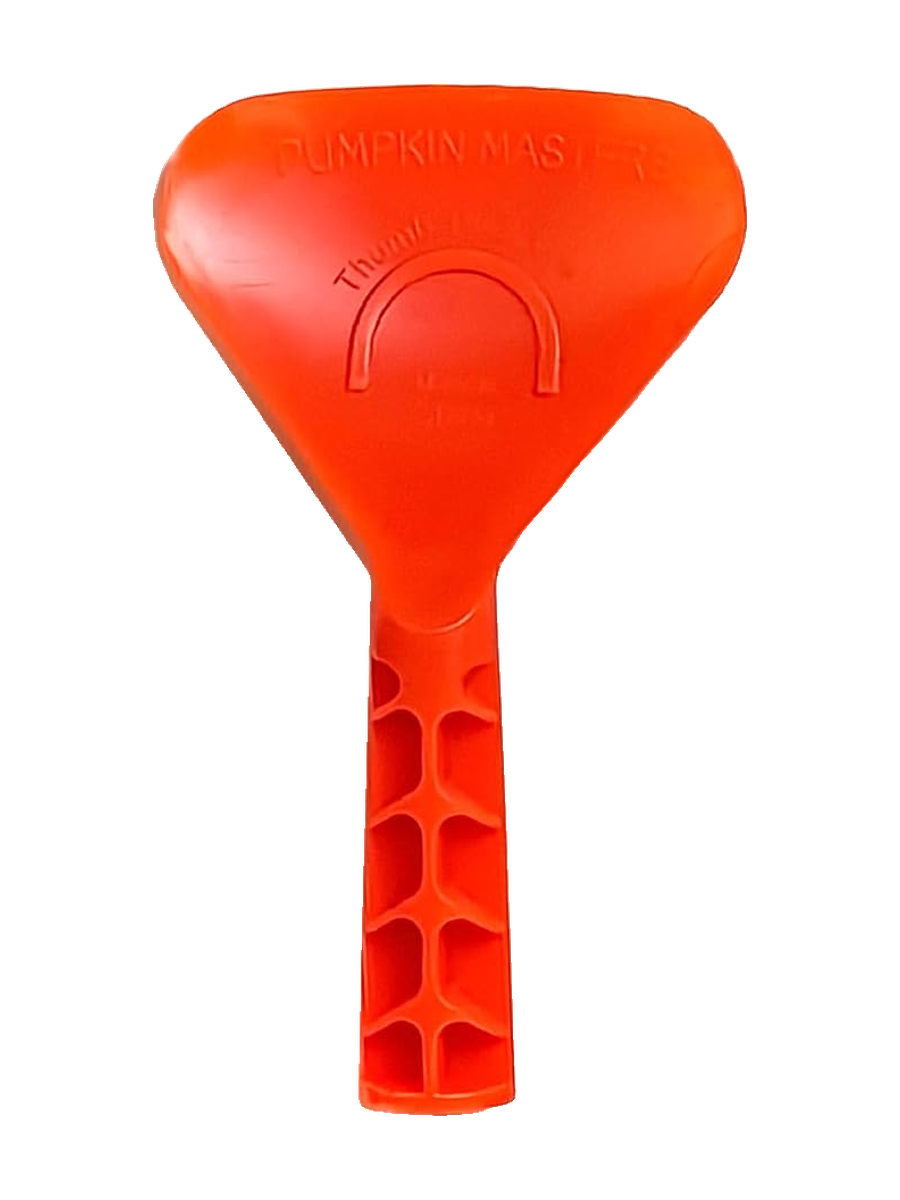
Clears seeds and strings and thins the inner wall.
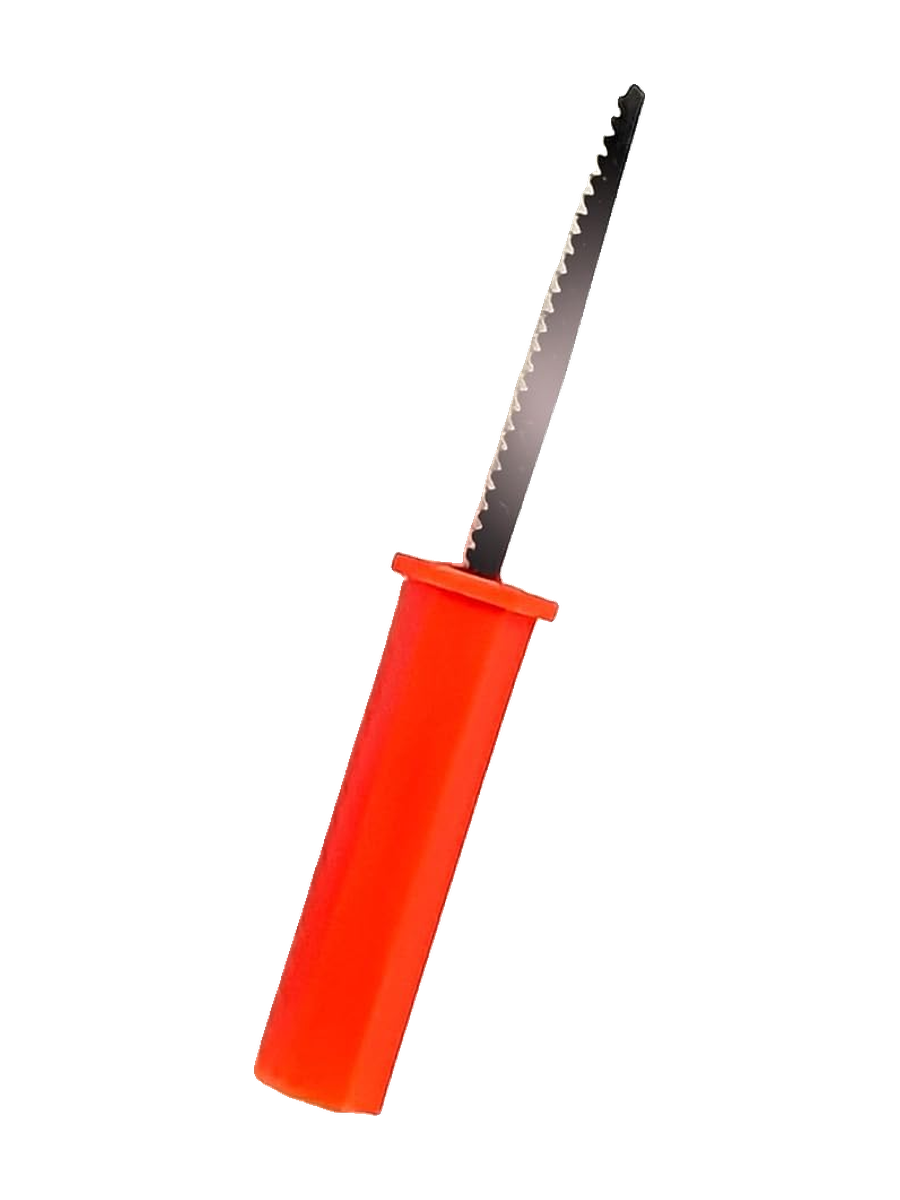
For the big, simple, broad areas of a pattern.
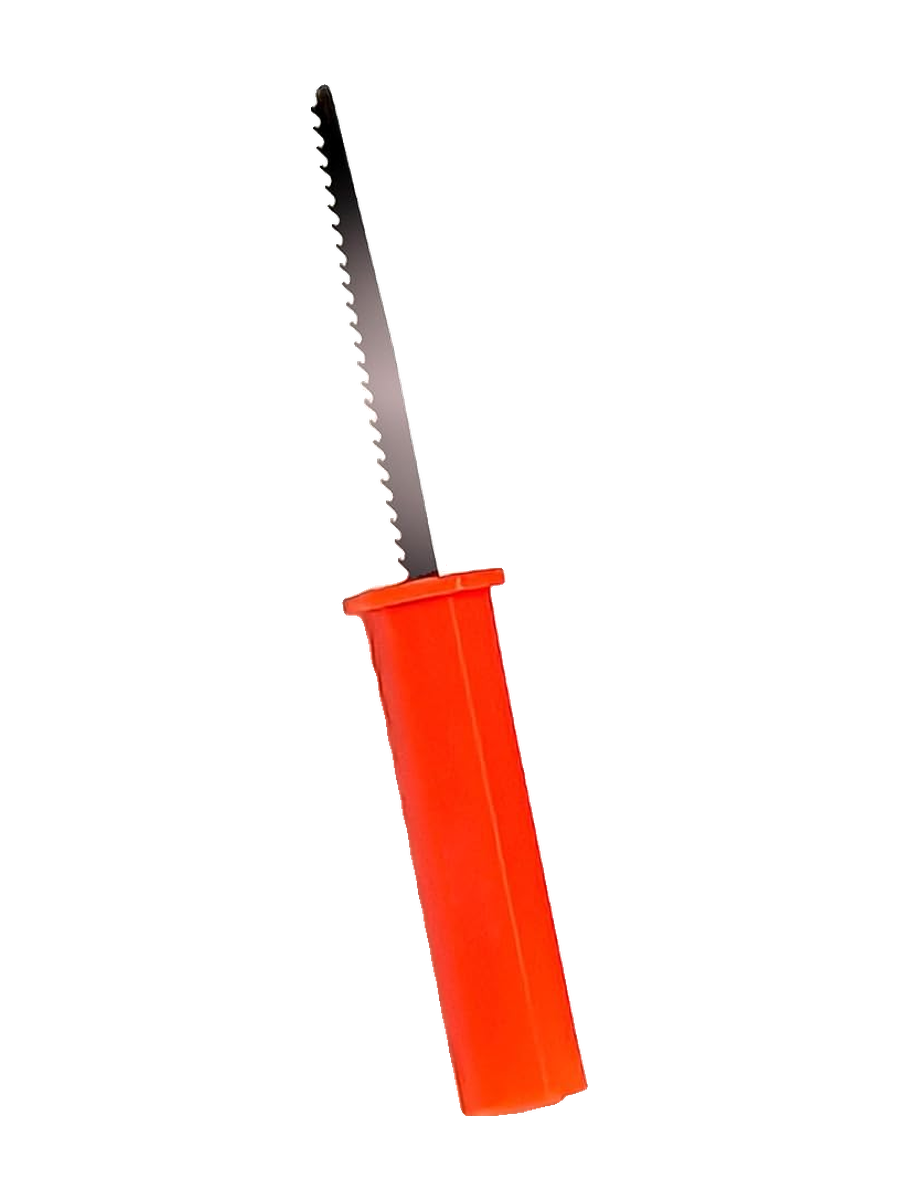
For sharp angles, small curves and fine details.
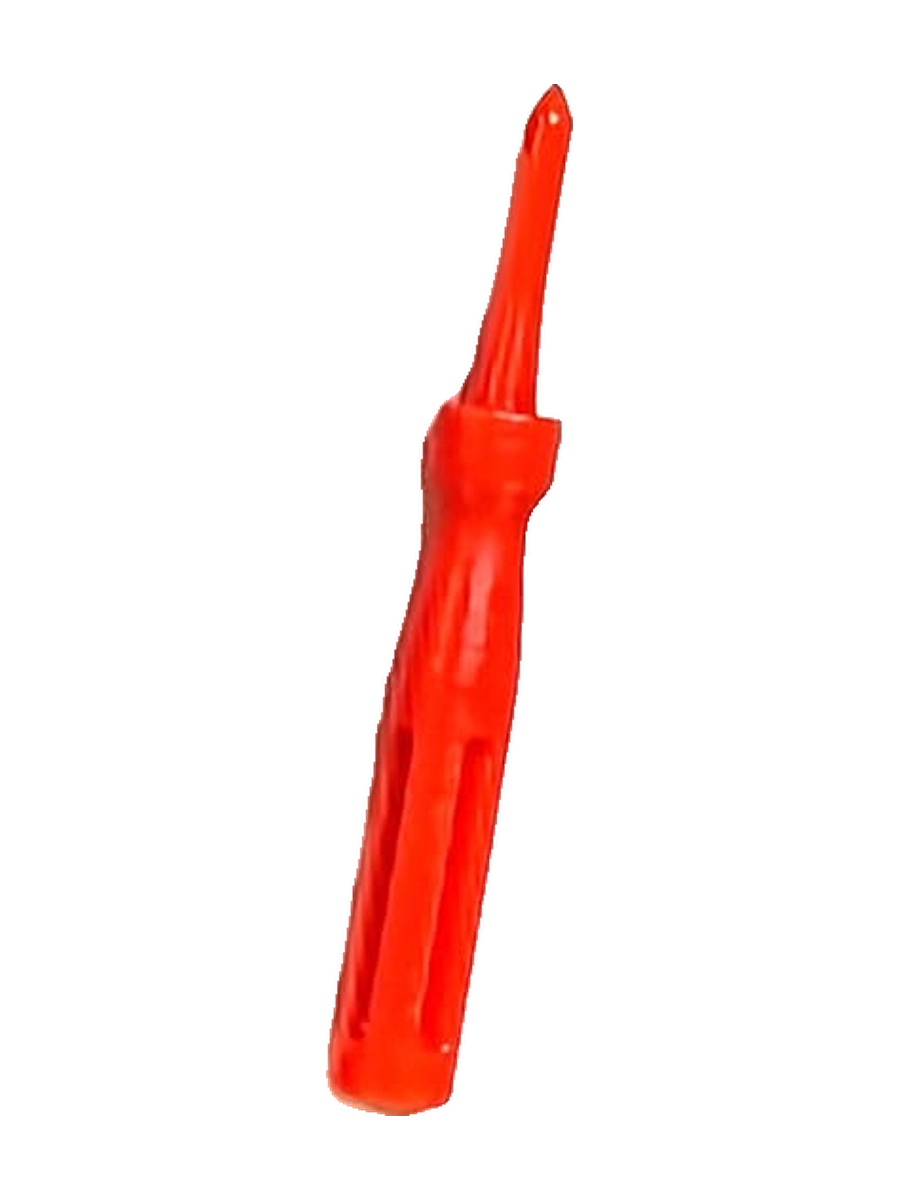
Makes holes, transfers patterns and pushes out carved pieces.
Pick your pattern
Every kit includes new patterns each year, rated so you know what you're getting into.

One dark pumpkin is the easiest. Four is the most challenging and takes the longest. New to carving? Start at one or two.
Step by step
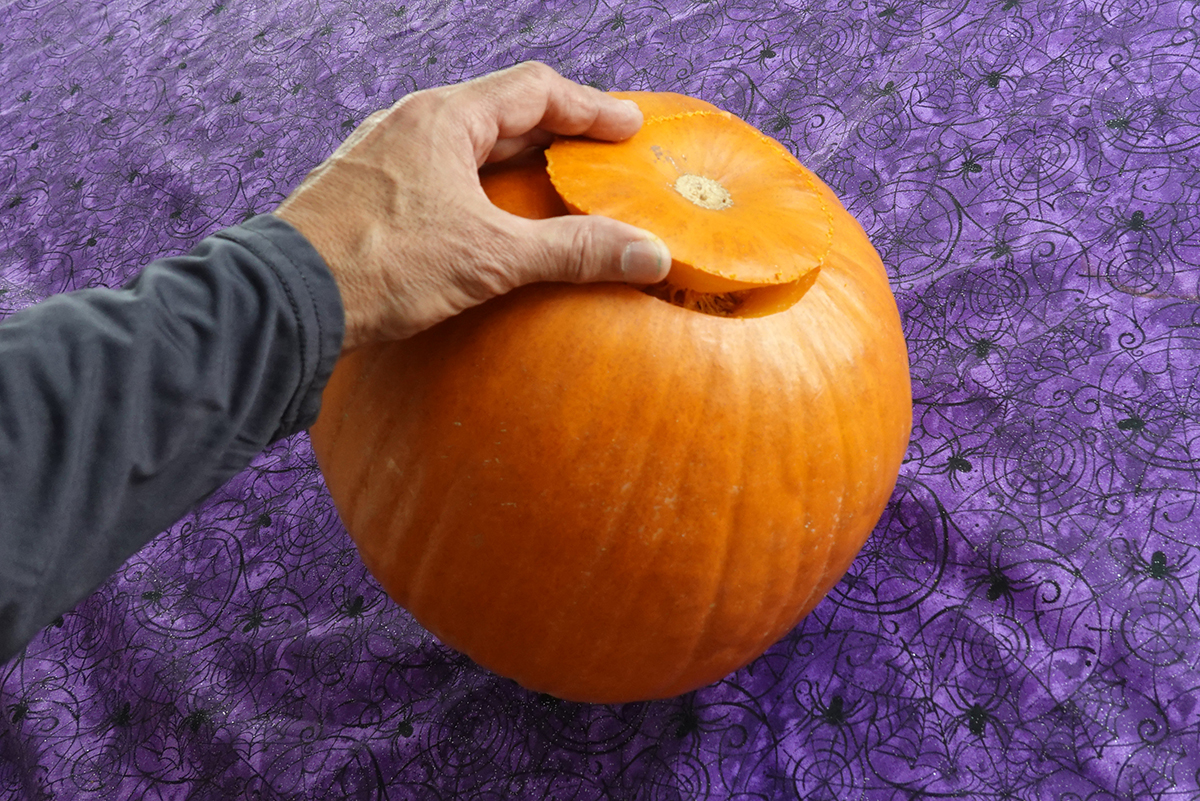
Carve an opening from the bottom of your pumpkin.
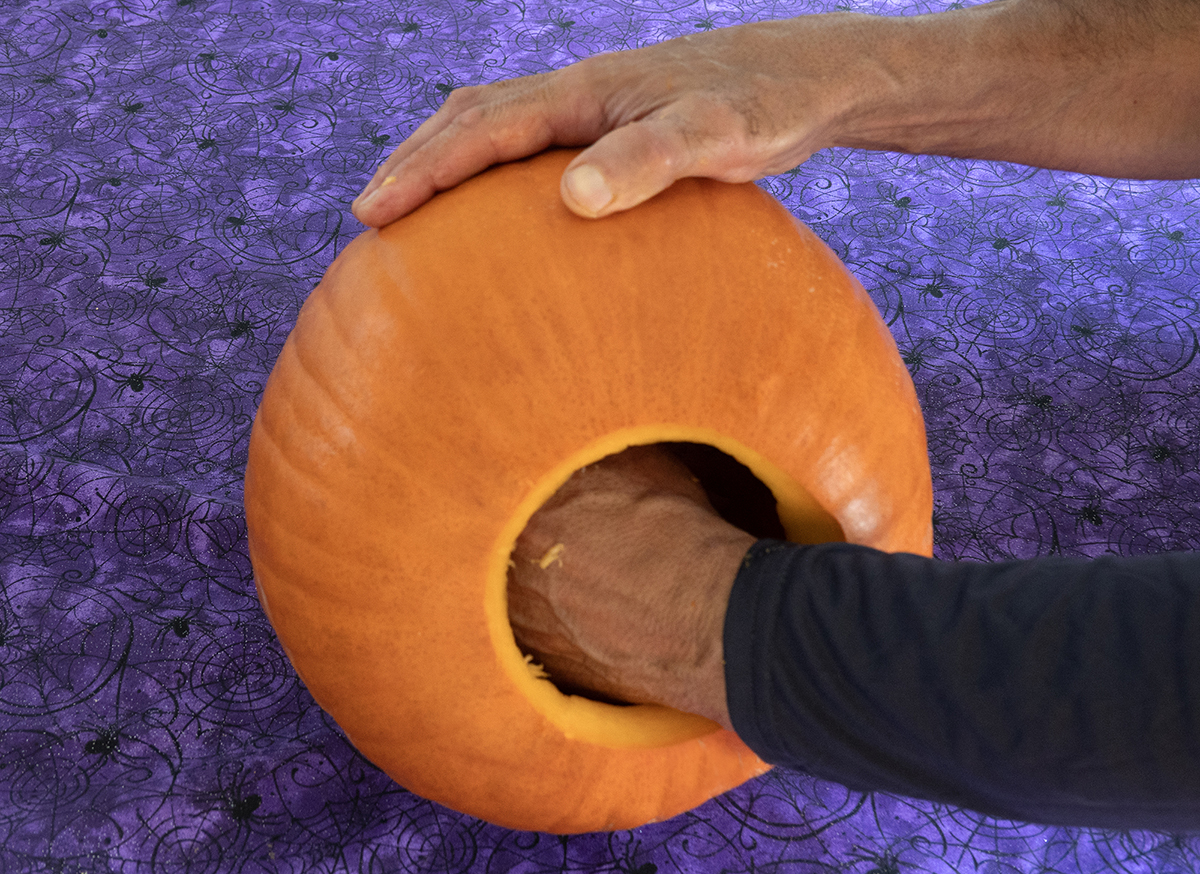
Clean out the seeds and strings. Scrape the area you're about to carve until the wall feels about an inch thick.
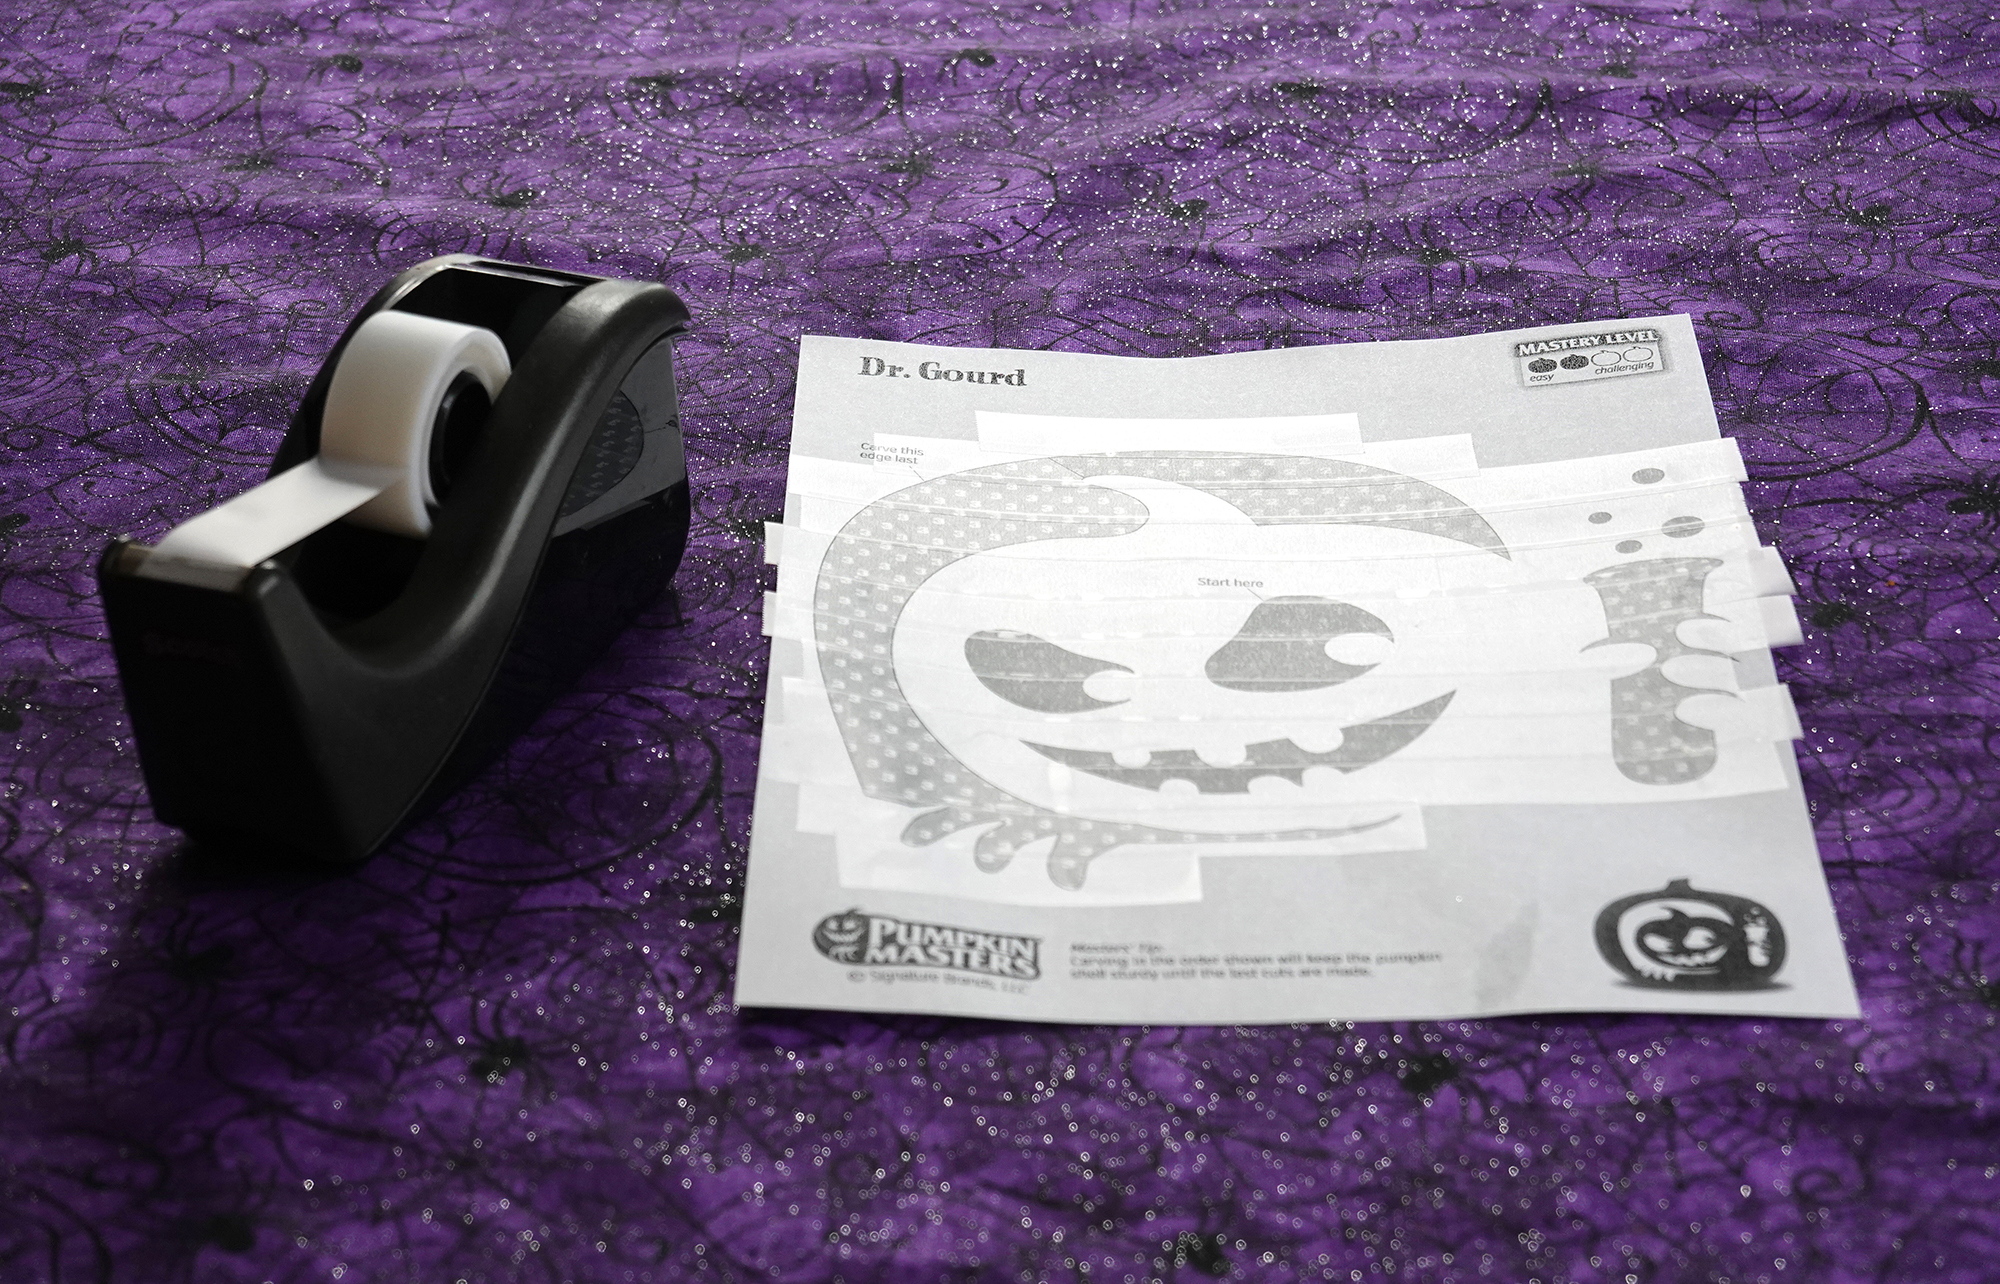
Pick your favorite pattern and cover the cut lines with transparent tape. This will waterproof and reinforce it, so you can carve right through it.
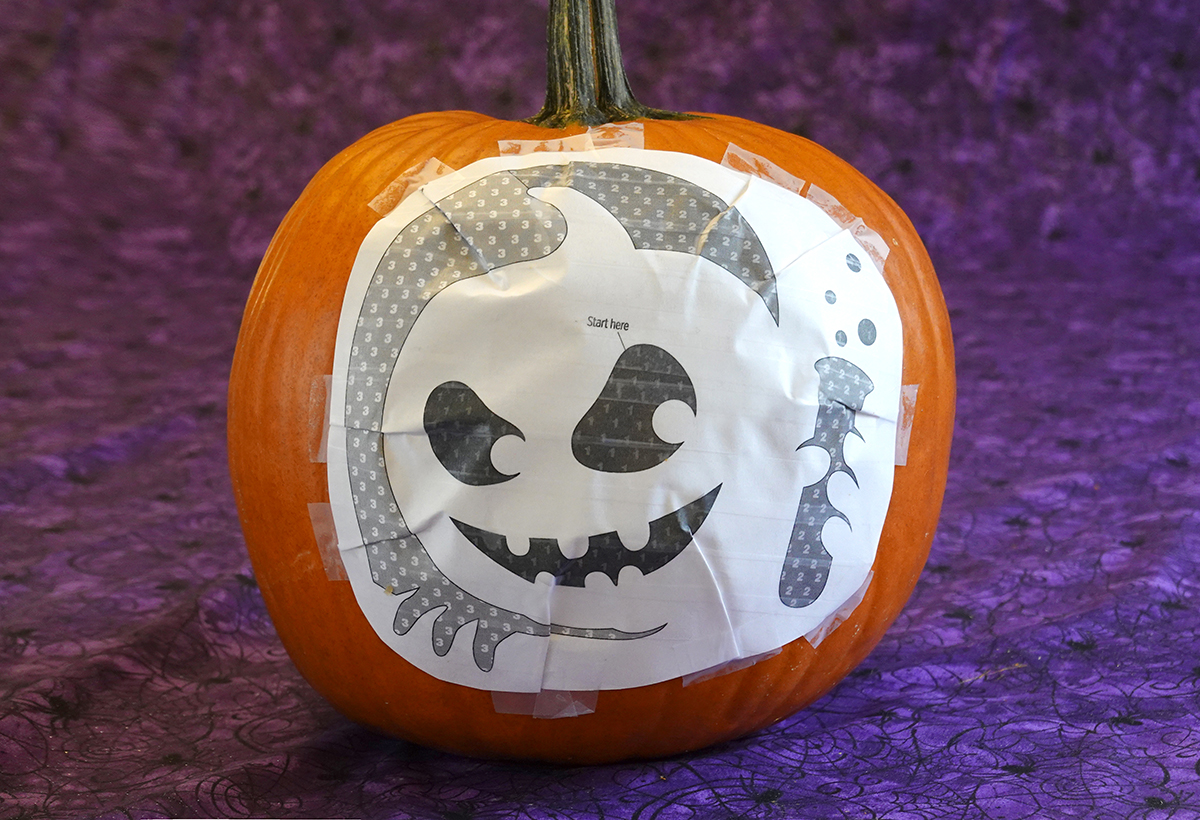
Make folds on the edges to make it fit around the pumpkin, and tape it in place.
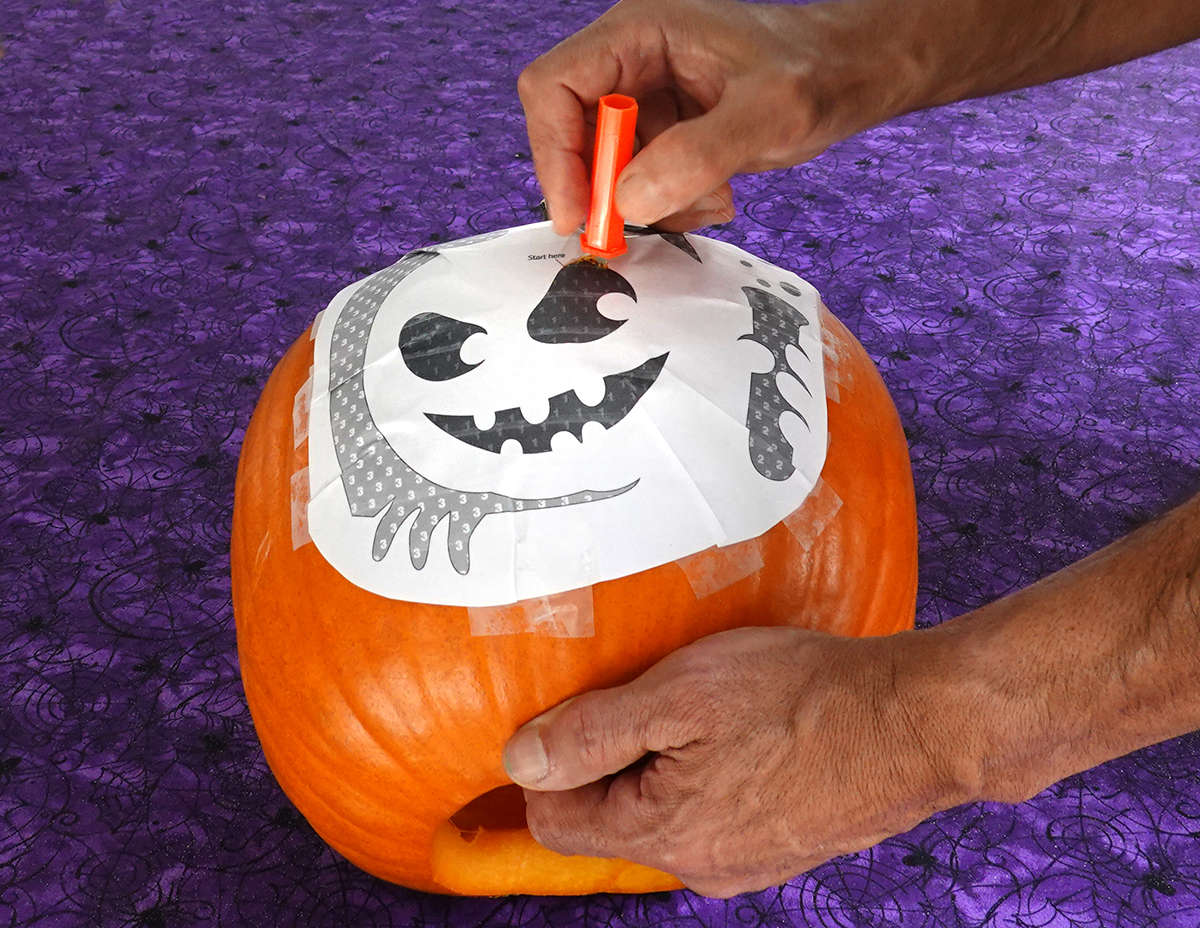
Carve out the pieces, in the order shown on the pattern. Saw at a 90° angle to the pumpkin, with a gentle up-and-down motion.
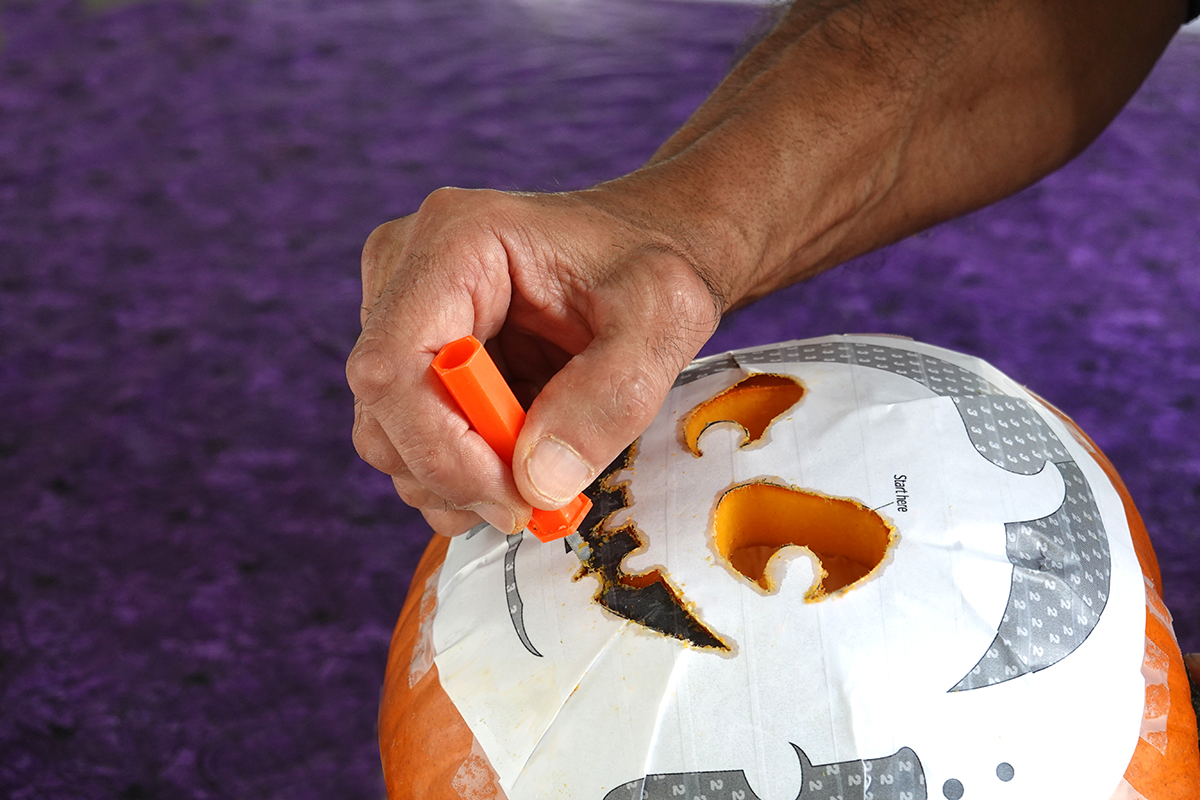
When you've mastered it, you'll feel very little resistance. Carve the outermost edges last.
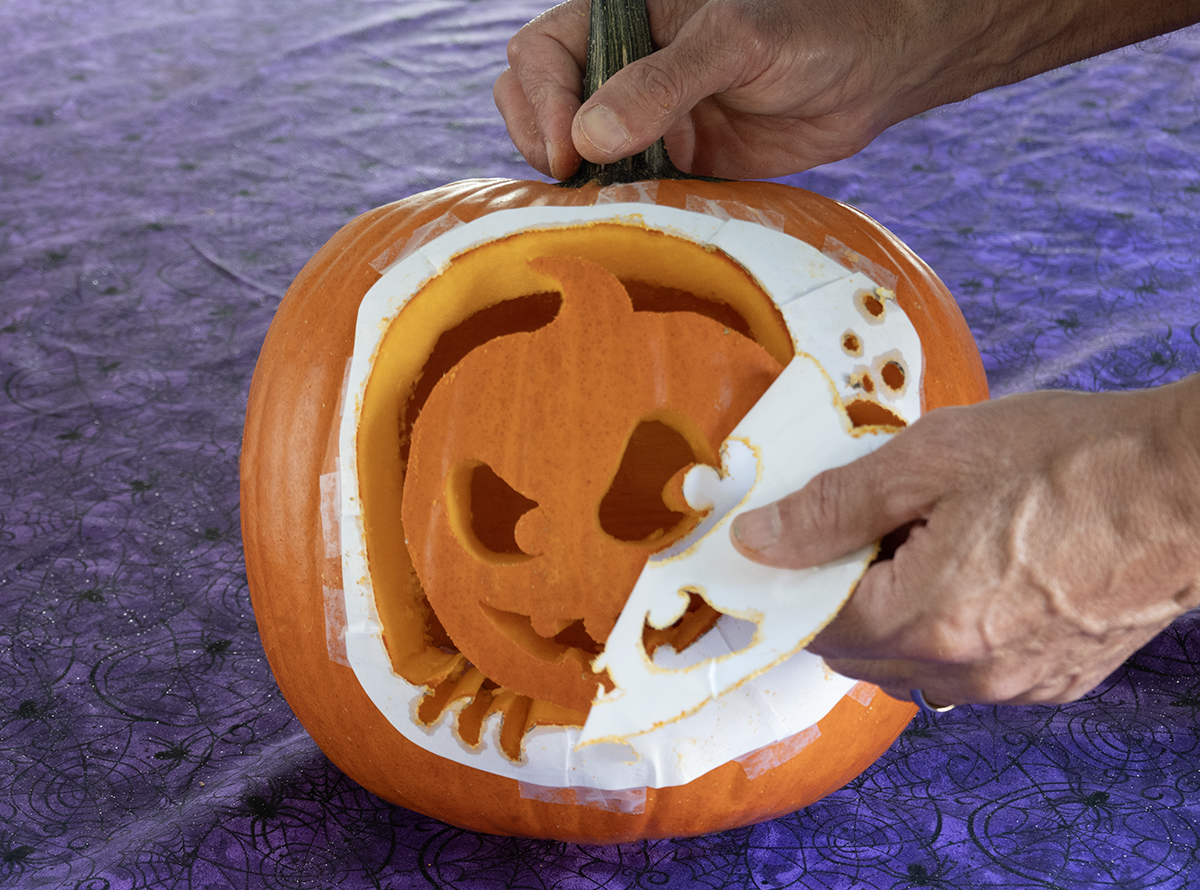
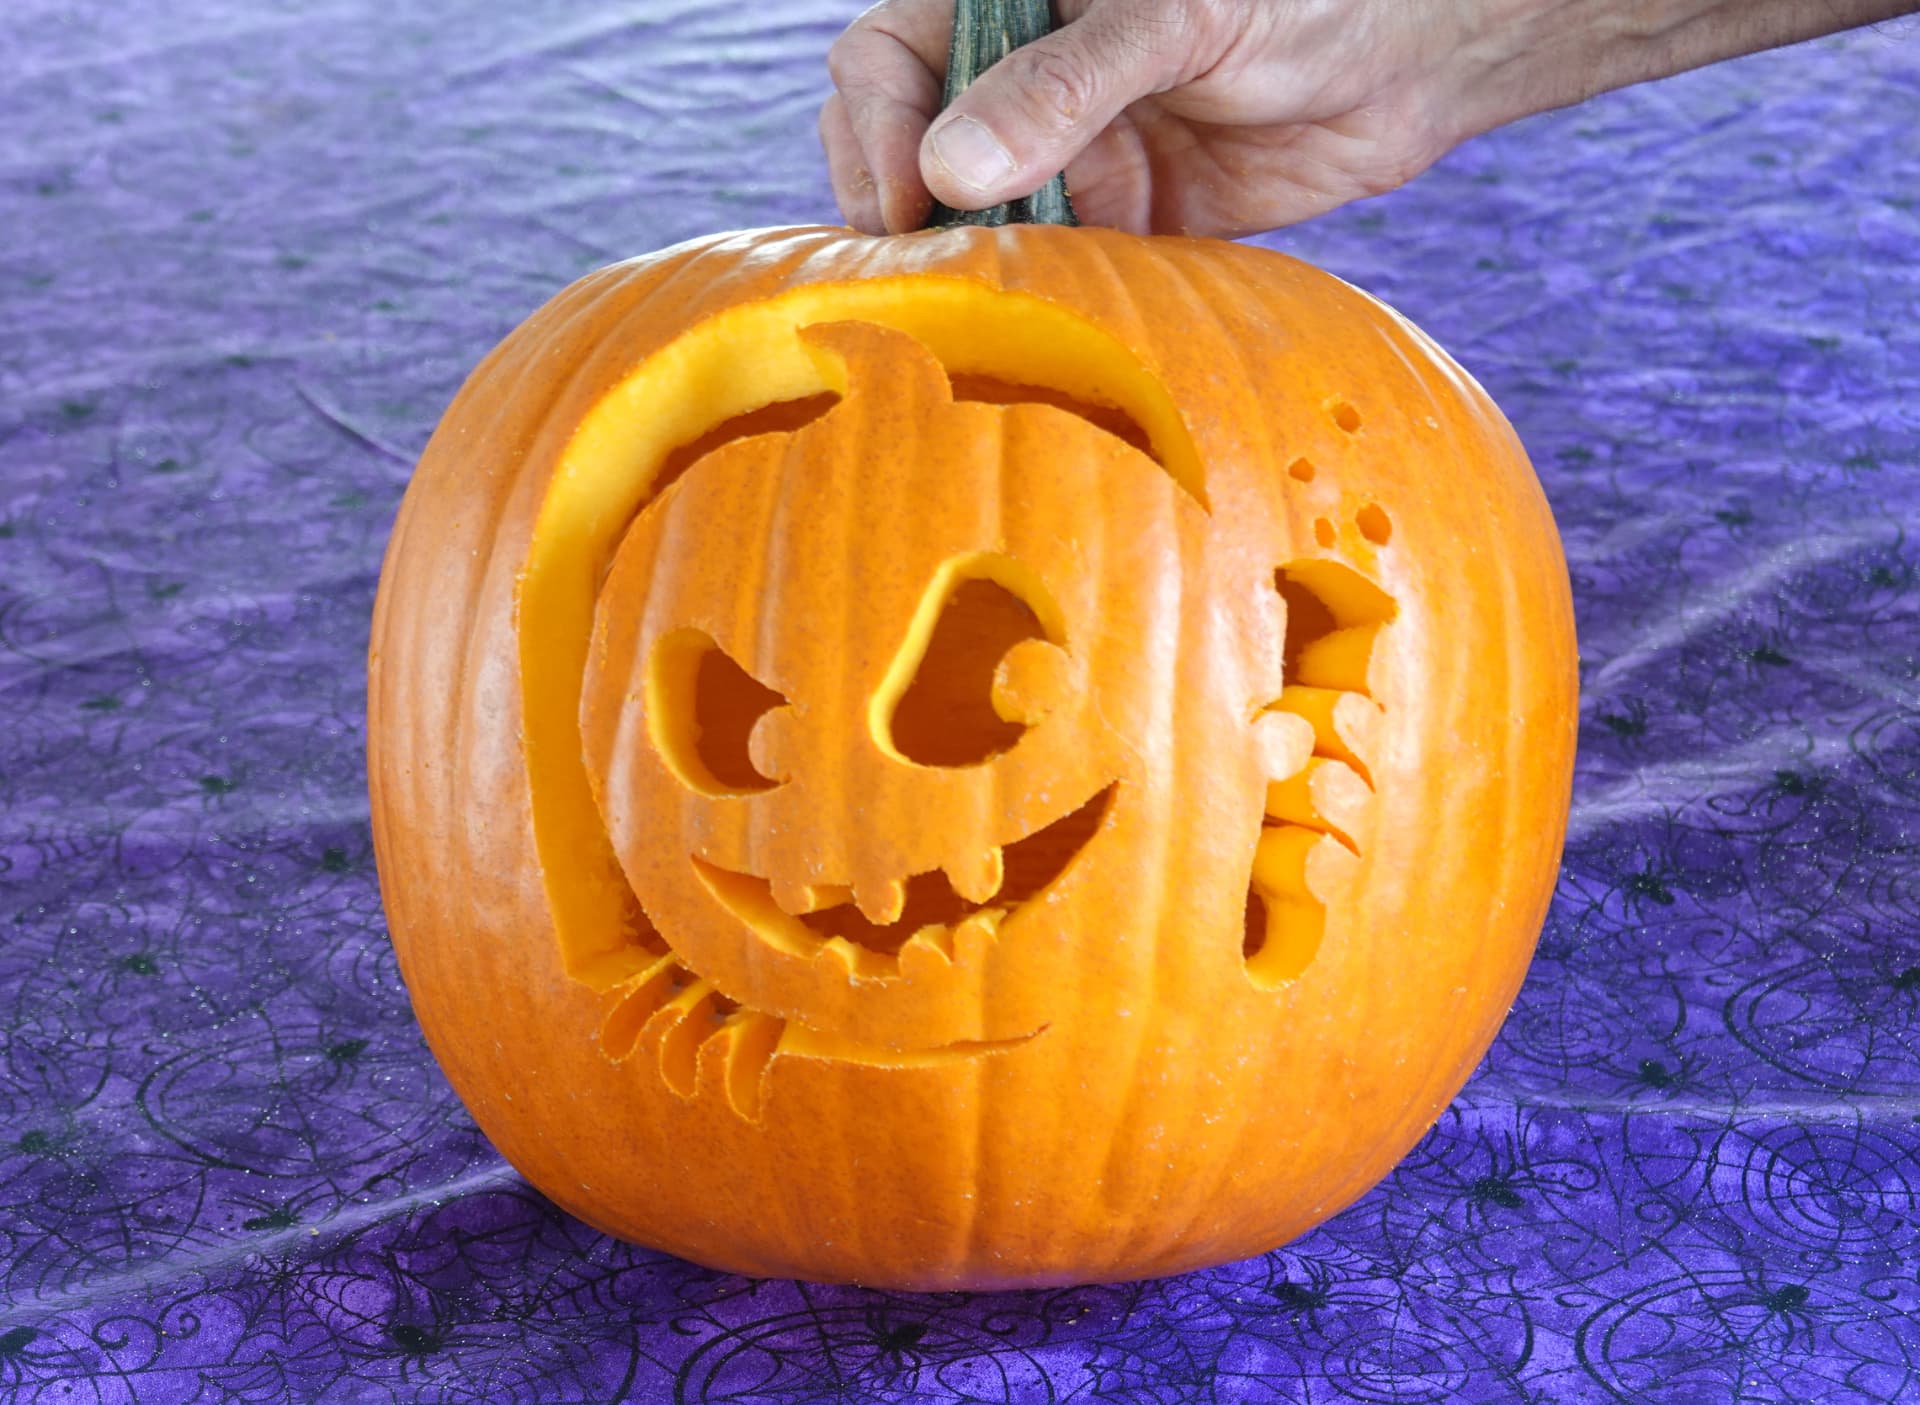
Peel off the pattern to reveal your carving.
Bring it to life
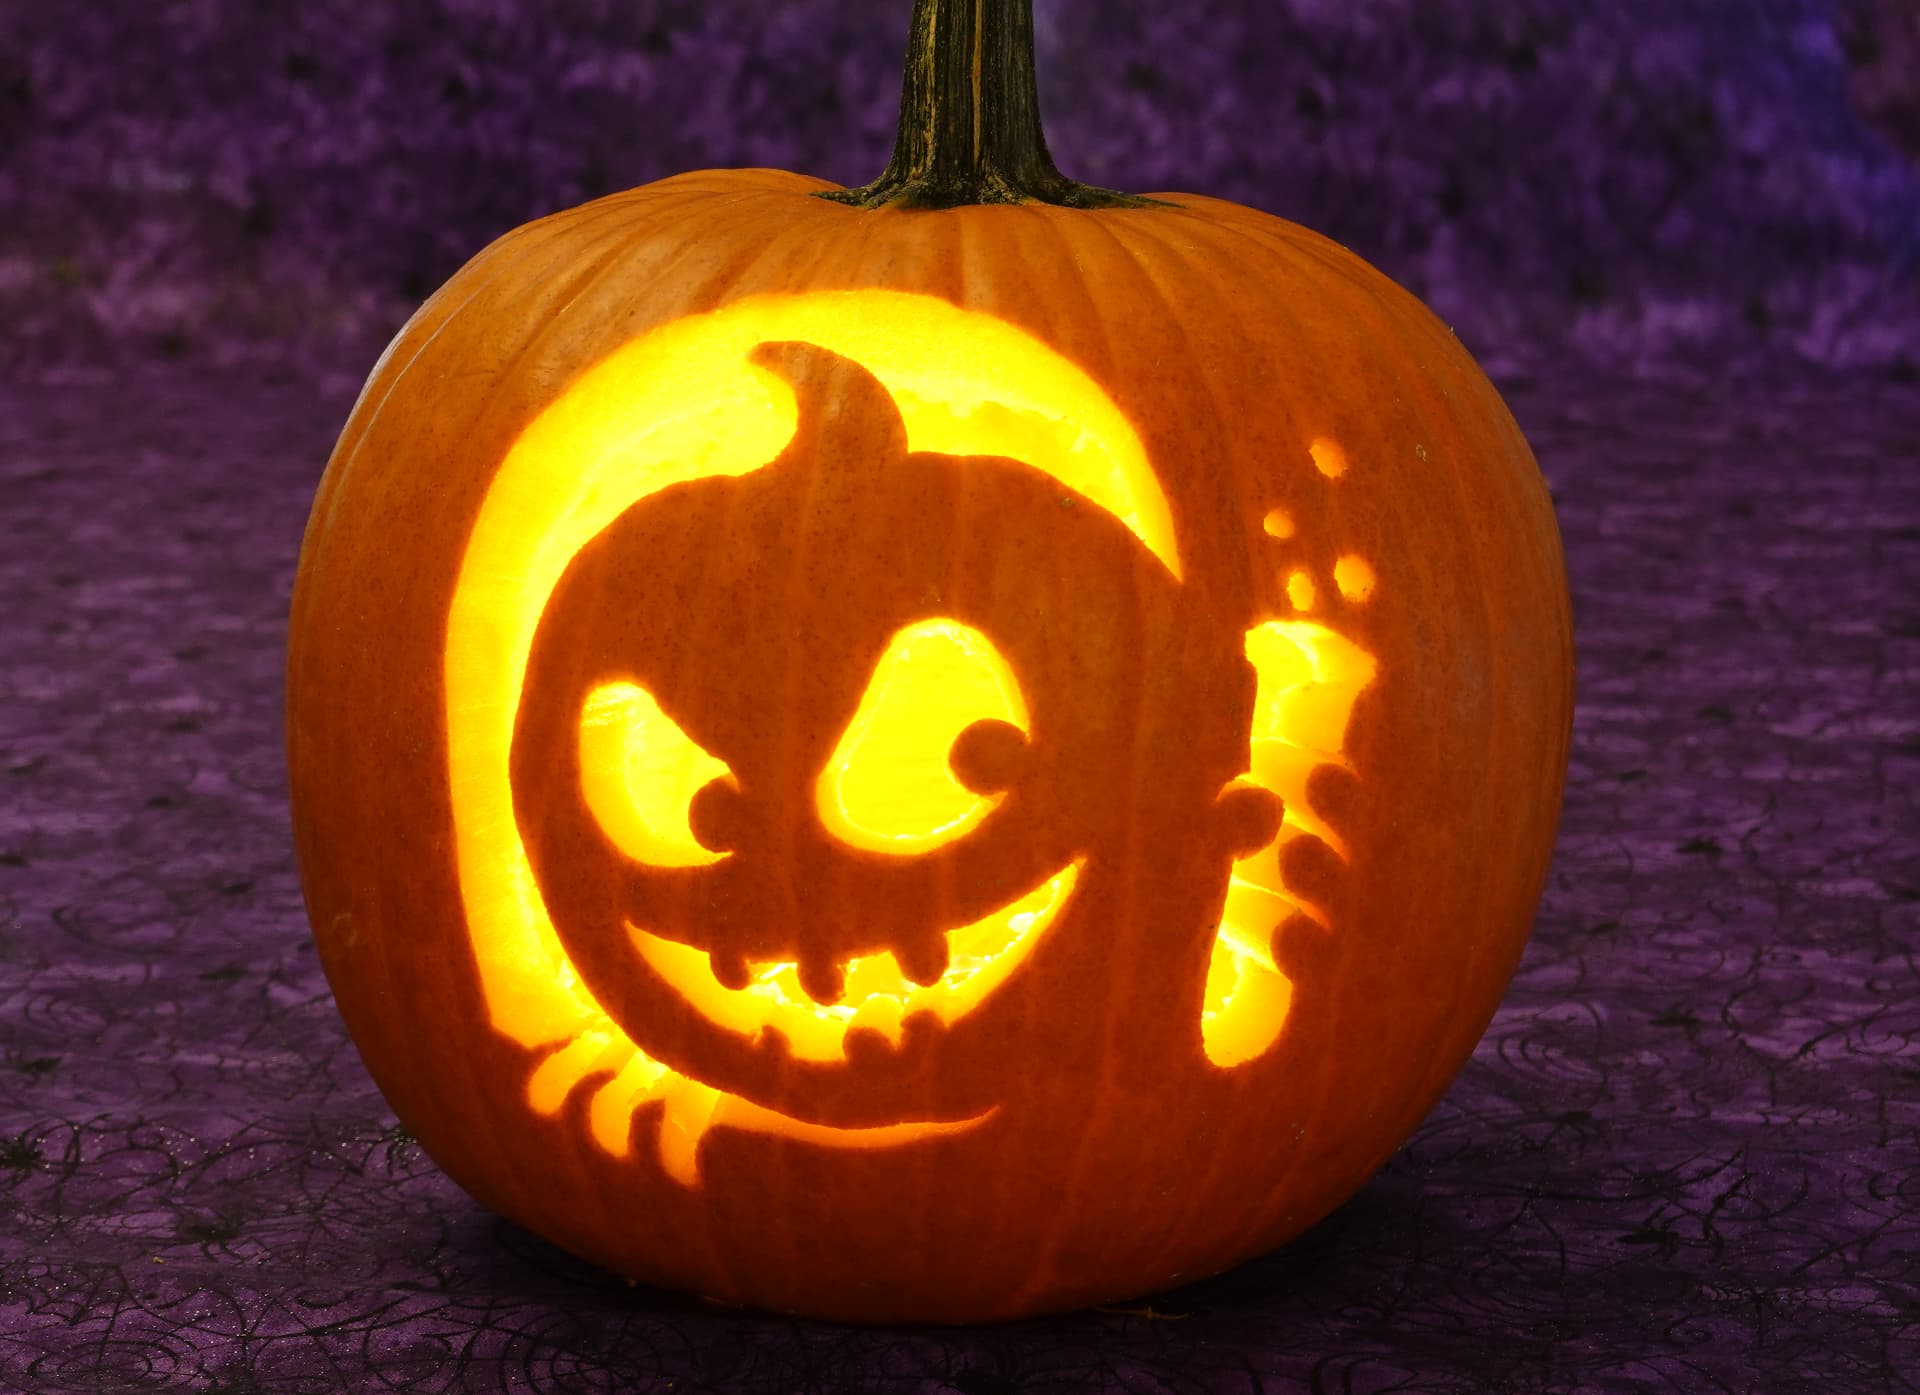
Light it with a Pumpkin Masters battery-operated light for a steady, flame-free glow.
Pro tips
About 1 inch thick where you'll carve. Scrape only that side and save your arm.
Fine details first with the Detail Saw, broad shapes last with the Utility Saw. Your carving tips strip shows the order.
Tape holds the pattern in place. If it tears or slips, tape again and keep going.
Grab a kit, pick a pattern, and show us what you make in this year's carving contest.